Join Us On Social Media!

|

|

|
Download The App!
Login To
Remove Ads
Remove Ads
Login To
Remove Ads
Remove Ads
Model Boats Website
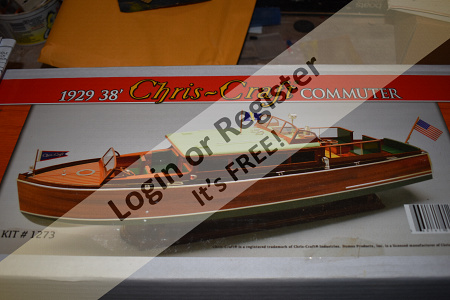
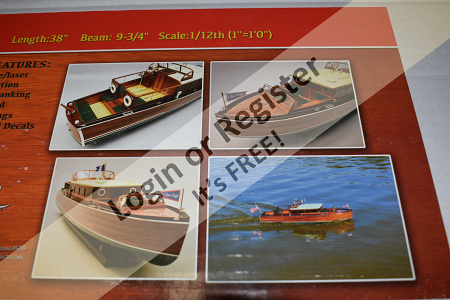
Dumas Commuter build
43 Posts · 11 Followers · 124 Photos · 166 Likes
Began 2 years ago by
 Canada
Follow This Thread
Not currently following
> Click to follow
> Click to follow
Latest Post 2 years ago by
| Oldest posts shown first (Show Newest First) | (Print Booklet) |
📝 Dumas Commuter build
2 years ago by 🇨🇦 Newby7 ( Fleet Admiral)
Fleet Admiral)✧ 165 Views · 4 Likes · 2 Comments
Flag
💬 Add Comment
Finally decided on a boat to build. Purchasted this kit a while ago and now have started to build. Read the instructions and followed the photos to get familler with the build sequence.
Rick
Rick
▲
⟩⟩
Mike Stoney
roycv
Colin H
pressonreguardless
|
💬 Re: Dumas Commuter build
2 years ago by 🇨🇦 Newby7 (
Fleet Admiral)✧ 165 Views · 0 Likes
Flag
Thank you Trev
Rick ▲
⟩⟩
No likes yet
This member will receive 1 point for every like received |
|
💬 Re: Dumas Commuter build
2 years ago by 🇺🇸 pressonreguardless (
 Rear Admiral) Rear Admiral)✧ 165 Views · 1 Like
Flag
The Commuter is one of my favorites, Rick
Good Luck, I shall be following your build closely👍👍 Trev ▲
⟩⟩
Newby7
|
Login To
Remove Ads
Remove Ads
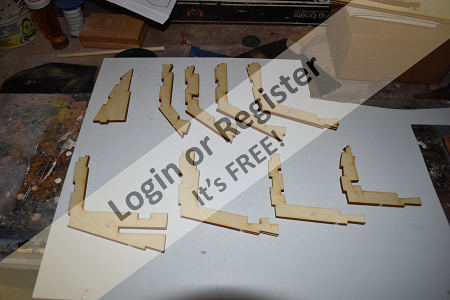
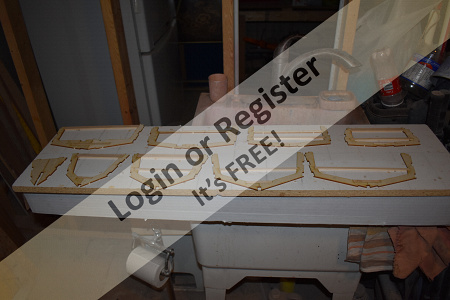
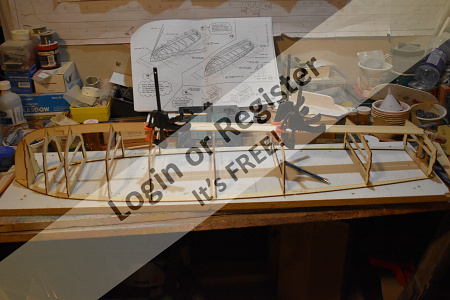
📝 Frames
2 years ago by 🇨🇦 Newby7 ( Fleet Admiral)
Fleet Admiral)✧ 170 Views · 3 Likes · 3 Comments
Flag
💬 Add Comment
Following the write up to build the frames. As of yet not sure I like how they are built seam a bit flimsy. Better idea when installed on the building board.
Rick


Rick
▲
⟩⟩
jbkiwi
Mike Stoney
Colin H
|
💬 Re: Frames
2 years ago by 🇬🇧 roycv (
Rear Admiral)✧ 166 Views · 0 Likes
Flag
Just as well they must be buying some decent wood at last!
Roy ▲
⟩⟩
No likes yet
This member will receive 1 point for every like received |
|
Login To
Remove Ads 💬 Re: Frames
2 years ago by 🇨🇦 Newby7 (
Fleet Admiral)✧ 167 Views · 0 Likes
Flag
Hi Roy
Yes it looks as if every thing is laser cut. Just need to be carefull with the mahagany when getting the pieces out. Rick ▲
⟩⟩
No likes yet
This member will receive 1 point for every like received |
|
💬 Re: Frames
2 years ago by 🇬🇧 roycv (
Rear Admiral)✧ 171 Views · 1 Like
Flag
Hi are the frames and the rest of the kit laser cut?
Roy ▲
⟩⟩
Newby7
|
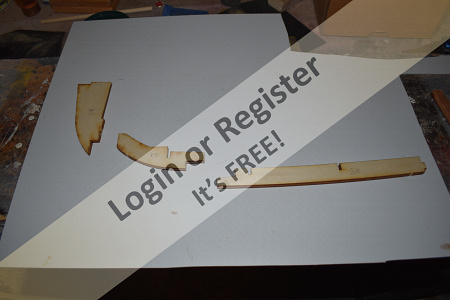
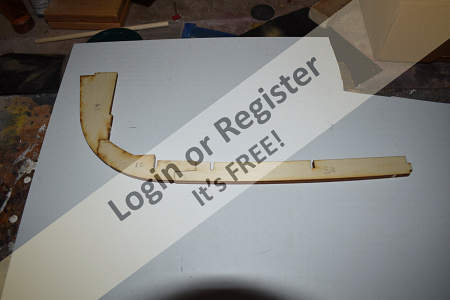
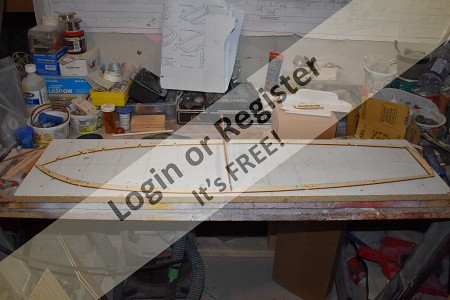
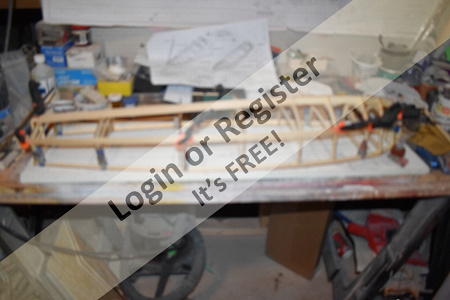
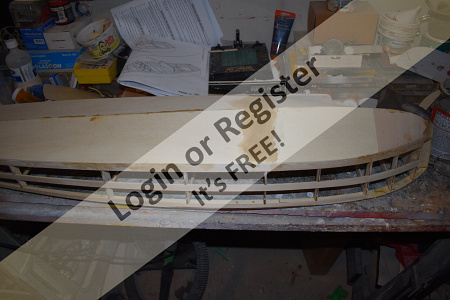
📝 Shear and Keel
2 years ago by 🇨🇦 Newby7 ( Fleet Admiral)
Fleet Admiral)✧ 171 Views · 2 Likes
Flag
💬 Add Comment
The keel is built from two pieces in each of the three sections and then glued together. The shear is built using 9 pieces from the wood pack glued and stapled to the building board. Frame 6 is used to get correct spacing for the stapling of the shear to the board.
Rick

Rick
▲
⟩⟩
ChrisG
Colin H
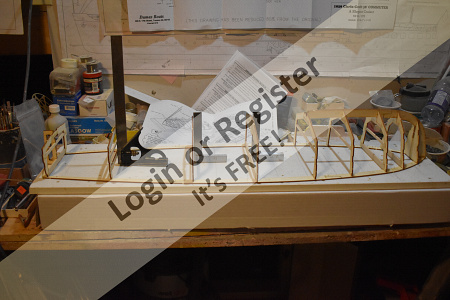
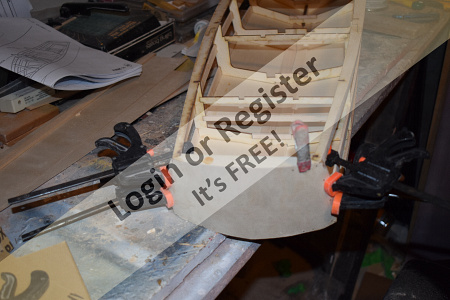
📝 Frames
2 years ago by 🇨🇦 Newby7 ( Fleet Admiral)
Fleet Admiral)✧ 167 Views · 3 Likes
Flag
💬 Add Comment
Dry fit the frames to the shear before gluing.
Rick
Rick
▲
⟩⟩
Colin H
Mike Stoney
pressonreguardless
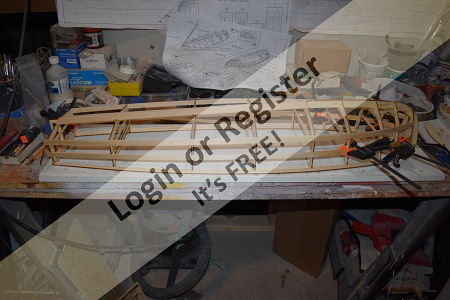
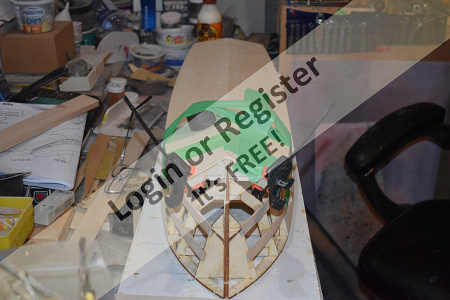
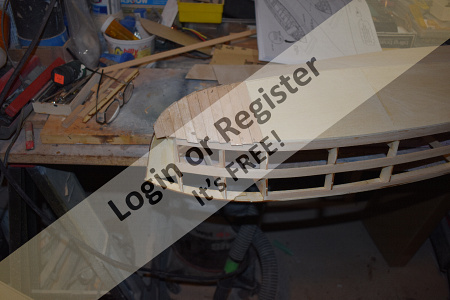
📝 Chine
2 years ago by 🇨🇦 Newby7 ( Fleet Admiral)
Fleet Admiral)✧ 163 Views · 4 Likes · 4 Comments
Flag
💬 Add Comment
Frames were glued in. The butterfly keel was instaled and glued in place all left to dry over night. Chine,mid support and sheer were glued and put in place. The write up suggested no need to soak the chine and mid rails to form the angles before gluing. Decided not to folllow that advice and did soak the 4 pieces before gluing them in place. Felt soaking and bending before gluing in place took strain off the wood.
Rick

Rick
▲
⟩⟩
Colin H
ChrisG
Mike Stoney
pressonreguardless
|
💬 Re: Chine
2 years ago by 🇳🇿 jbkiwi (
Fleet Admiral)✧ 134 Views · 0 Likes
Flag
Good precaution,-As the old saying goes Rick, if you use a nail and the wood splits, you should have used a screw.
Same with bending wood, if it splits, you should have steamed it. JB ▲
⟩⟩
No likes yet
This member will receive 1 point for every like received |
|
Login To
Remove Ads 💬 Re: Chine
2 years ago by 🇺🇸 pressonreguardless (
Rear Admiral)✧ 163 Views · 0 Likes
Flag
Yes, that stuff is great.
I have been relying heavily on CA, I hope i won't regret it Trev ▲
⟩⟩
No likes yet
This member will receive 1 point for every like received |
|
💬 Re: Chine
2 years ago by 🇨🇦 Newby7 (
Fleet Admiral)✧ 163 Views · 1 Like
Flag
Hi Trev
I use gorilla wood glue seems to work well for me. Rick ▲
⟩⟩
pressonreguardless
|
|
💬 Re: Chine
2 years ago by 🇺🇸 pressonreguardless (
Rear Admiral)✧ 163 Views · 1 Like
Flag
Hi Rick,
I do find one has to use their own judgement when building Dumas boats. What do you use for glue? Trev ▲
⟩⟩
Newby7
|
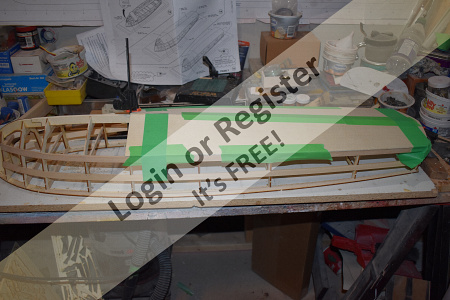
📝 Planking
2 years ago by 🇨🇦 Newby7 ( Fleet Admiral)
Fleet Admiral)✧ 161 Views · 2 Likes
Flag
💬 Add Comment
First two sections glued on the bottom. The size and fit made gluing to the frames easy to do.
Rick

Rick
▲
⟩⟩
Colin H
pressonreguardless
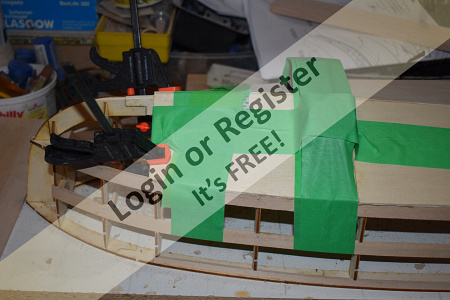
📝 Planking 2
2 years ago by 🇨🇦 Newby7 ( Fleet Admiral)
Fleet Admiral)✧ 165 Views · 5 Likes · 3 Comments
Flag
💬 Add Comment
Second set of planking glued in place.
Rick
Rick
▲
⟩⟩
jbkiwi
Colin H
Peejay
pressonreguardless
Mike Stoney
|
💬 Re: Planking 2
2 years ago by 🇨🇦 Newby7 (
Fleet Admiral)✧ 165 Views · 0 Likes
Flag
Harbour for sure when finished.
Rick ▲
⟩⟩
No likes yet
This member will receive 1 point for every like received |
|
Login To
Remove Ads 💬 Re: Planking 2
2 years ago by 🇬🇧 Graham 1954 (
 Petty Officer 1st Class) Petty Officer 1st Class)✧ 167 Views · 2 Likes
Flag
Hope you add this to your Harbour
▲
⟩⟩
Mike Stoney
Newby7
|
|
💬 Re: Planking 2
2 years ago by 🇨🇭 Mike Stoney (
 Commander) Commander)✧ 166 Views · 3 Likes
Flag
Hey Newby7!
I'm back home again after many trips in the motorhome and am now following your construction with interest. This is going to be a great boat! Congratulations and good luck! Best regards Michel-Claude PS:We also did handicrafts with the grandchildren during the holidays. My requirement for the kids: only string, wood from the forest, a knife and a piece of cloth. The success can be shown!! 😊😊😊😊 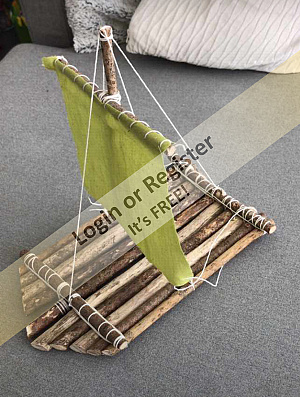
▲
⟩⟩
jbkiwi
Colin H
Peejay
|
📝 Planking3
2 years ago by 🇨🇦 Newby7 ( Fleet Admiral)
Fleet Admiral)✧ 165 Views · 5 Likes · 1 Comment
Flag
💬 Add Comment
Front planked used 1/8 x 3/8 basswood instead of balsa. Sanded the sides even with chine and sheer finished the curve on the transom.
Rick


Rick
▲
⟩⟩
Colin H
Northernflotsam
ChrisG
Mike Stoney
pressonreguardless
|
💬 Re: Planking3
2 years ago by 🇺🇸 pressonreguardless (
Rear Admiral)✧ 165 Views · 1 Like
Flag
Great Progress, Rick👍👍
Trev ▲
⟩⟩
Newby7
|
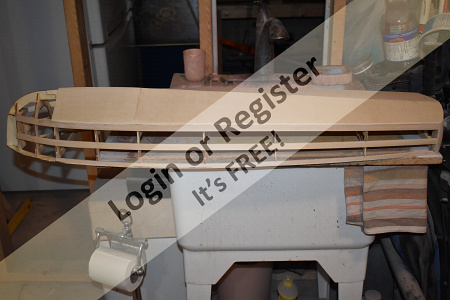
📝 Sanding and filling
2 years ago by 🇨🇦 Newby7 ( Fleet Admiral)
Fleet Admiral)✧ 165 Views · 4 Likes
Flag
💬 Add Comment
The hull bottom when sanded and filled is a finished surface to be painted. When the bottom is close will glue on the first pieces for the transom and sides and fill and sand before mahagany goes on
Rick


Rick
▲
⟩⟩
jbkiwi
Colin H
Northernflotsam
pressonreguardless
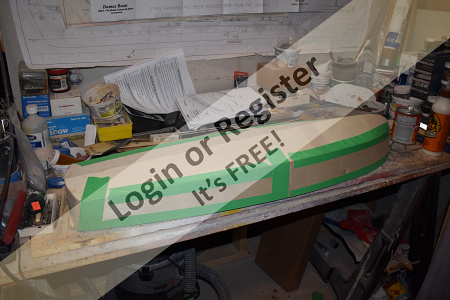
📝 Sides
2 years ago by 🇨🇦 Newby7 ( Fleet Admiral)
Fleet Admiral)✧ 166 Views · 2 Likes · 1 Comment
Flag
💬 Add Comment
Skined the sides and transom. Will fine tune when glue dries.
Rick

Rick
▲
⟩⟩
Colin H
pressonreguardless
|
💬 Re: Sides
2 years ago by 🇺🇸 pressonreguardless (
Rear Admiral)✧ 164 Views · 1 Like
Flag
Nice👍👍
▲
⟩⟩
Newby7
|


Login To
Remove Ads
Remove Ads