Join Us On Social Media!

|

|

|
Download The App!
Login To
Remove Ads
Remove Ads
Login To
Remove Ads
Remove Ads
Model Boats Website
Captain Class Frigate (ex Evarts Class DE Diesel Electric)
5 Posts · 0 Followers · 15 Photos · 6 Likes
Began 2 years ago by
 United Kingdom
Follow This Thread
Not currently following
> Click to follow
> Click to follow
Latest Post 2 years ago by
| Oldest posts shown first (Show Newest First) | (Print Booklet) |
📝 Captain Class Frigate (ex Evarts Class DE Diesel Electric)
2 years ago by 🇬🇧 JRF1972 ( Leading Seaman)
Leading Seaman)✧ 71 Views · 1 Like
Flag
💬 Add Comment
Scratch Built From plans circa 1959 in the American Modeler
▲
⟩⟩
StanC
Login To
Remove Ads
Remove Ads
📝 first steps
2 years ago by 🇬🇧 JRF1972 ( Leading Seaman)
Leading Seaman)✧ 71 Views · 1 Like
Flag
💬 Add Comment
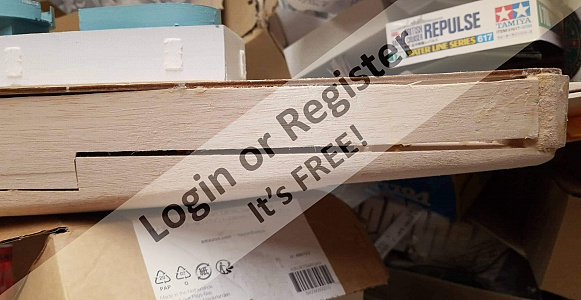
I obtained the plans in PDF format and then had them traced and Laser cut into the correct plywood thickesses. For deck and Frames, and had a keel cut as well
obtained the balsa Cut out the shape of the bottom planks and glued together, either side of the keel and set up the frames


obtained the balsa Cut out the shape of the bottom planks and glued together, either side of the keel and set up the frames
▲
⟩⟩
Colin H
📝 continued
2 years ago by 🇬🇧 JRF1972 ( Leading Seaman)
Leading Seaman)✧ 71 Views · 1 Like
Flag
💬 Add Comment
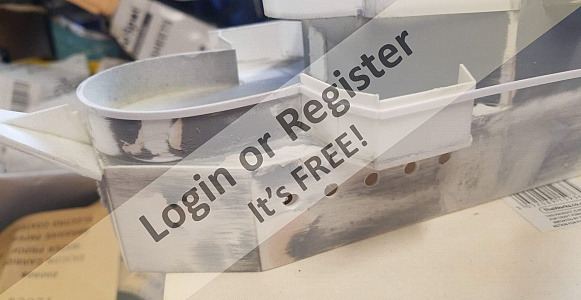
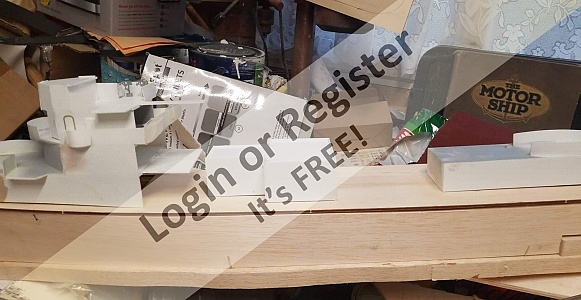
The Deck was glued on and the side sheets cut to fit almost, then a lot of sanding was was done, in parts, and at different times
Please ignore the messiness of my workbench

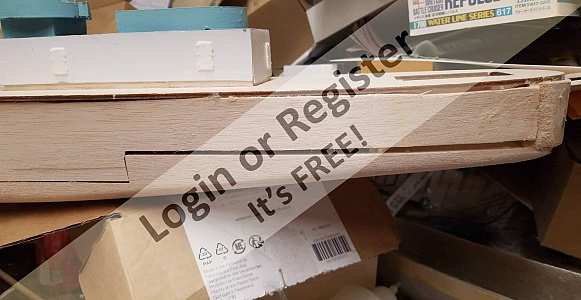

Please ignore the messiness of my workbench
▲
⟩⟩
Colin H
📝 continued
2 years ago by 🇬🇧 JRF1972 ( Leading Seaman)
Leading Seaman)✧ 71 Views · 1 Like
Flag
💬 Add Comment
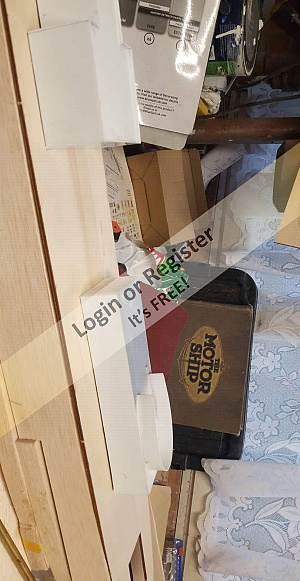
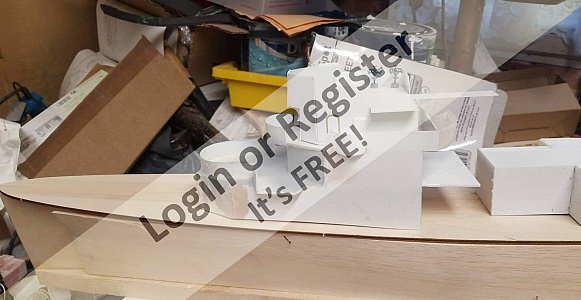
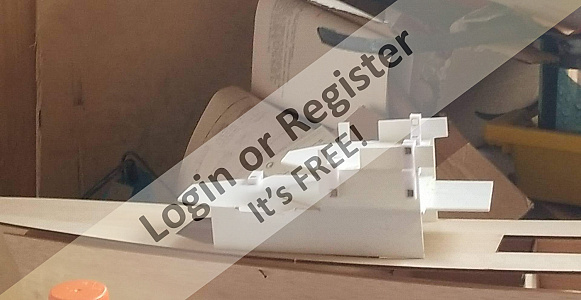
When I was waiting for the hull to dry, I commenced building the superstructures

▲
⟩⟩
Colin H
📝 Return to work
2 years ago by 🇬🇧 JRF1972 ( Leading Seaman)
Leading Seaman)✧ 71 Views · 2 Likes
Flag
💬 Add Comment
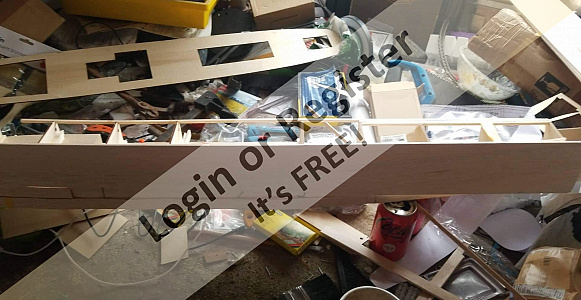
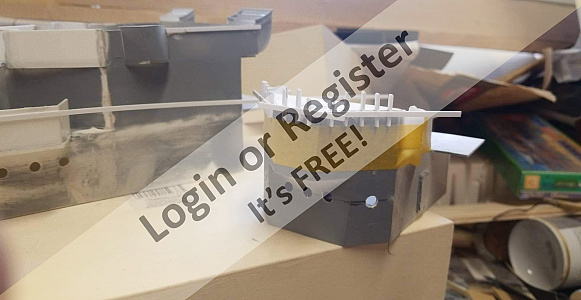
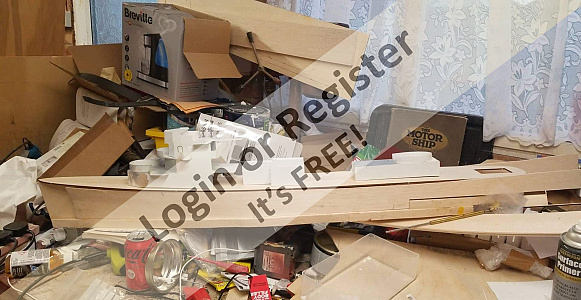
I had to return back to work in West Africa by this time, but here is a photo of her as she was left, almost, the side sheeting is glued in, and the superstructures require finishing.
I have obtained a 1/96 Fletcher Class Running Set from G.Sitek Propellers, they are about the right size for her at 1/76, and 2 Caldercraft resin profiled rudders 32x 25mm,
I also have a box of other bits, which my friend has 3d printed for me, Funnel, 3" guns, oerlikons, whaleboat and many other small parts,
When i get back to the UK in October, my first job, is to finish sanding the hull, coat it in Resin, and matting both inside and out, fill in outside with body filler, then sand it all smooth, looking at them i am going to mask the inner strakes of plating and spray with 4 or 5 coats of primer, before unmasking and spraying completely with red primer to repesent the plating on the actual vessel.
Then for the running gear and motors ( 2 x MFA 385 ) and rudders
▲
⟩⟩
SimpleSailor
LewZ


Login To
Remove Ads
Remove Ads